
Preparing for your first Rockschool or RSL Classical exam? Follow this simple guide to planning, practising and staying calm on the day.
Your First Exam: Where to Begin
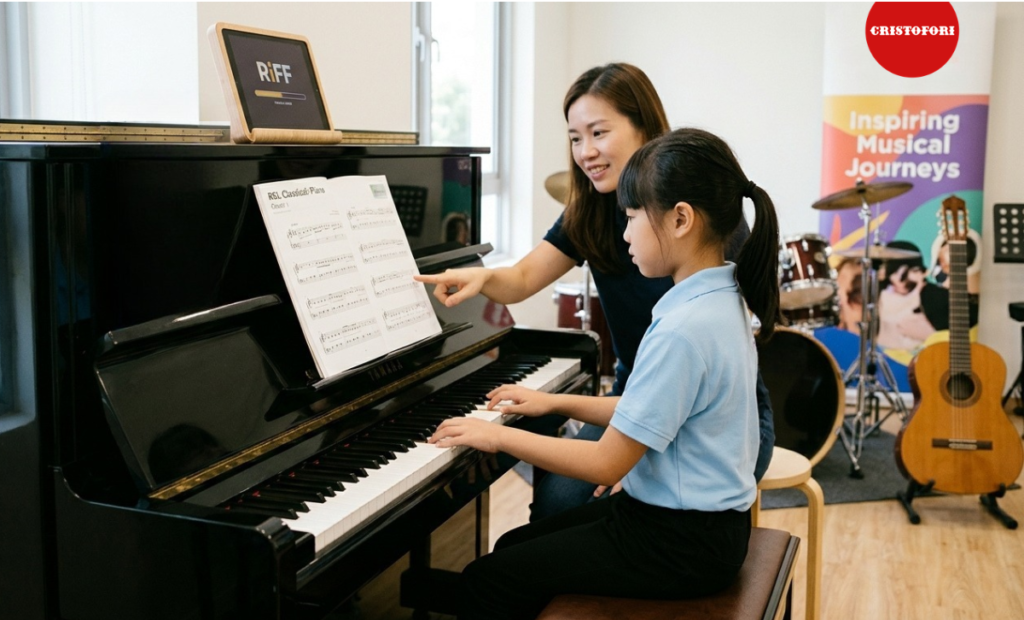
A first music exam can feel like a big step, for children and parents alike. The good news is that with a clear plan and a supportive teacher, it can also be a very positive experience. Here is a simple guide to help your child get ready for a first Rockschool or RSL Classical exam.
1. Choose the Right Grade and Pathway
Your child’s teacher will recommend the right starting grade, based on their level. Both pathways begin at an entry level (Premiere or Debut depending on the syllabus) and go up to Grade 8.
If you are unsure which pathway suits your child, read our guide to Rockschool vs RSL Classical.
2. Understand the Exam Structure
Knowing exactly what happens inside the exam room removes half the anxiety. Exams are marked out of 100, with 60 as the pass mark (75 for Merit, 90 for Distinction).
Depending on your child’s goals, RSL offers two distinct exam formats:
The Grade Exam (Comprehensive Assessment)
For most instruments, a standard Grade Exam covers five areas:
- Three Performance Pieces: Making up the bulk of the marks. Up to two pieces can be Free Choice selections.
- Technical Exercises: Scales, arpeggios, or technical studies tailored to the instrument.
- Unseen Tests: A choice between Sight Reading or Improvisation & Interpretation (from Grade 6 onwards, a Quick Study piece replaces this for select instruments).
- Ear Tests: Two short listening tests assessing pitch, rhythm, and musical recall.
- General Musicianship Questions: Five brief questions about the music performed and the instrument itself.
The Performance Certificate (Performance-Only)
If your child prefers to focus purely on playing without technical exercises or unseen tests, the Performance Certificate consists of five performance pieces only (up to three pieces can be free-choice pieces).
Your teacher will confirm the exact requirements for your child’s instrument and grade, or you can view the full syllabus specifications at rslawards.com.
3. Plan Backwards from the Exam Period
In Singapore, RSL exams are conducted across four exam periods each year:
- Tour A: March
- Tour B: June
- Tour C: September
- Tour D: Mid-November to mid-December
Once you have selected your target tour with your teacher, map out a backwards timeline. Allocate dedicated weeks for learning notes, polishing technical work, and practising unseen tests. A steady routine of shorter, regular practice sessions beats a last-minute cramming session every time—and leaves plenty of room in the final weeks to run through the entire exam from start to finish.
4. Practise Smart, Not Just Long
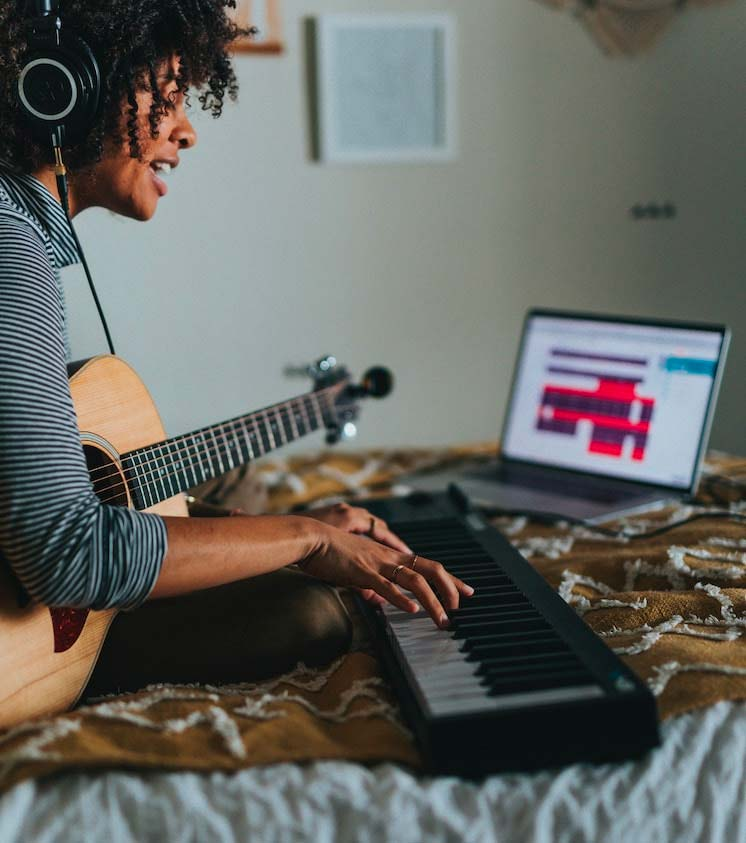
Twenty focused minutes with a clear goal achieves far more than an hour of playing through pieces on autopilot. Encourage your child to isolate tricky bars, slow them down, and listen carefully to their tone and rhythm before bringing the tempo back up.
When concentration starts to fade, wrap up the session. Rest is an essential part of building muscle memory.
5. Use Official RSL Audio & Digital Practice Tools
Whether your child practises with a physical hardcopy book or an interactive Exam e-Book on the RiFF platform, make sure they use the official RSL backing tracks and demonstration audio included with their syllabus.
For Exam e-Book Users (RiFF): Students using the digital e-Books on RiFF gain interactive tools like section looping and tempo control to slow down tricky passages. Be sure to switch on Exam Mode a few weeks before the exam—this hides the practice controls and displays the sheet music cleanly, just as it will appear on the day. Read more in our article on Inside RSL RiFF.
For Hardcopy Book Users: Every physical RSL grade book includes access to downloadable audio files (both full demonstration tracks and backing-only tracks). Practising regularly with the official backing tracks builds solid timing and ensures your child is completely familiar with the exact cues, count-ins, and instrumentation they will hear in the exam room.
Exam Room Tip: If your child is bringing a hardcopy book into the exam, make sure it is an original copy (photocopies are not permitted under copyright rules) and remove any loose notes or heavy pencil markings that might distract them while playing. Do note that is it not required to remove all pencil markings. If the examiner deems the candidates copy too full of writings to use for the general musicianship questions, they will show the candidate a clean unmarked copy for that part of the exam.
6. Hold a Mock Exam
A run-through at home, or with your teacher, helps your child get used to playing without stopping. Invite a family member to listen, so your child practises playing in front of someone else.
7. Prepare for the Day
A smooth exam day comes down to calm preparation the night before:
- Rest & Fuel – Ensure your child gets a full night’s sleep and eats a balanced meal beforehand so they stay alert and steady.
- Buffer Your Travel Time – Plan to arrive at the exam venue at least 20–30 minutes early. Accounting for traffic or MRT delays ensures your child walks into the waiting room relaxed rather than rushed.
- Check Your Gear – Double-check that instruments, cables, sheet music, or digital devices (with downloaded files ready for offline access) are packed the night before. Check out our RSL Exam Day Guide here!
Keep Perspective
Remind your child that RSL examiners are musicians themselves—they want candidates to succeed and enjoy sharing their music.
After the Exam: Celebrate the Milestone
Whatever the final score, celebrate the discipline and courage it took to prepare and perform. Every exam builds stage confidence, resilience, and focus—habits that stay with your child far beyond the music room.
Ready to start preparing? Book a free trial class and talk to a Cristofori teacher about the right exam pathway.